1. Overcoming Orchid Rot with a Simple Home Method
When faced with orchids suffering from fungus and yellowing due to overly wet planting material, there’s no need to despair. Employing a straightforward and effective method at home can bring these seemingly damaged orchids back to life. Follow these steps to revive your orchids.
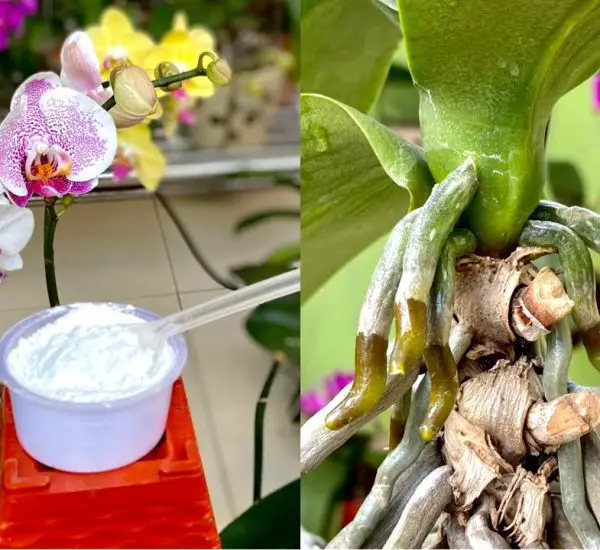
2. Garlic Water Treatment to Combat Fungus
Use two cloves of garlic and add them to 500 ml of water.
Cover the mixture and let it sit for 12 hours.
After 12 hours, filter the garlic-infused water.
Spray the entire infected orchid with this natural disinfectant.
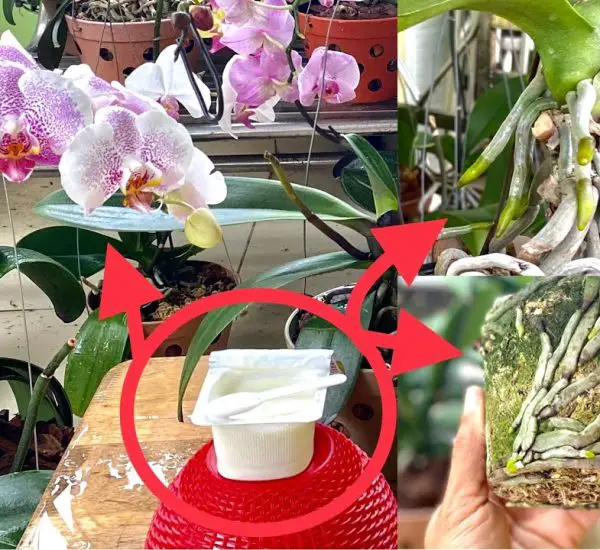
3. Applying Garlic Juice and Fixing with a Plastic Bottle
Dry the leaves of the orchid after the disinfection process.
Apply garlic juice to the orchid and let it sit for 30 minutes.
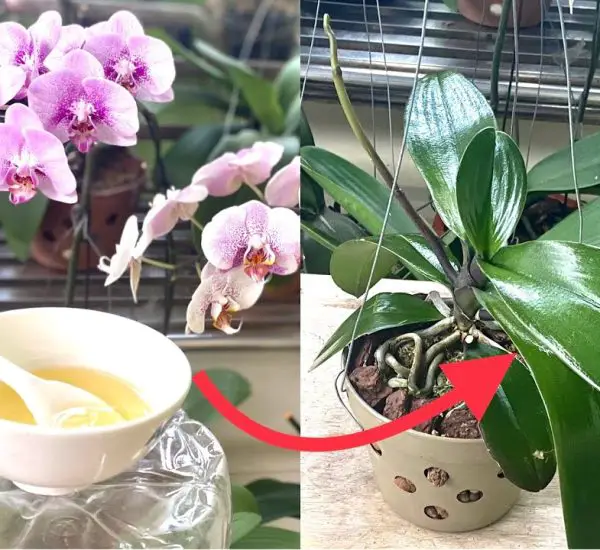
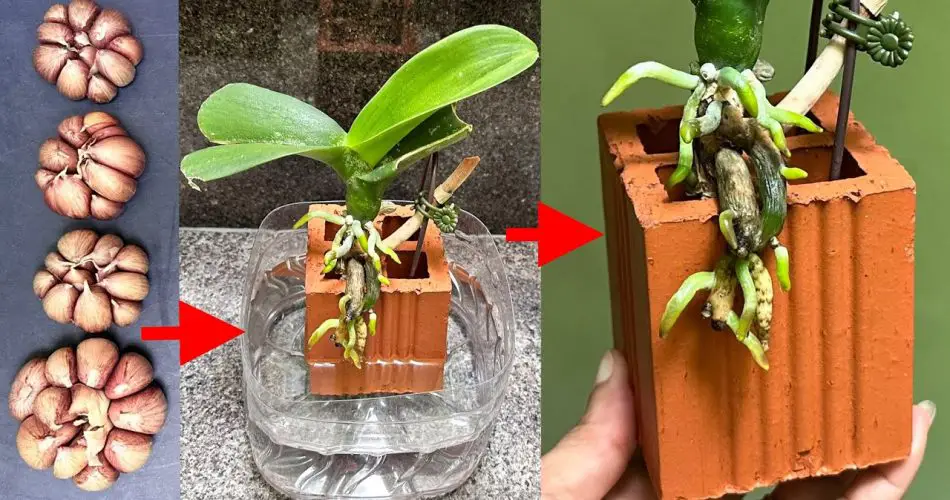
Cut a plastic bottle horizontally and insert a moist brick.
After 30 minutes, place the orchid’s roots into the bottle and secure them with small sticks.
Leave the orchid in this setup for optimal root growth.
4. Creating a Suitable Environment for Growth
Cover part of the orchid’s roots with water, mimicking natural conditions where orchids attach to various surfaces.
Water and mist the leaves once every 5 days.
Position the orchid in a cool and dry place to foster a conducive environment for recovery.
5. Witnessing Healthy Roots and Successful Replanting
After a month, observe the robust growth of the orchid’s roots.
This method, tailored to the tropical nature of orchids, allows them to adapt and thrive in various environments.
Now, with confidence, replant the orchid, enabling it to flourish in an outdoor setting.
This easy and practical approach to reviving orchids emphasizes the resilience of these tropical plants. By carefully following these steps, you can witness the rejuvenation of your orchids and enjoy their vibrant presence in your home or garden. Explore different methods to find the one that best suits your preferences and watch as your orchids develop strong and healthy roots.