1. Identifying and Addressing Leaf Rot in Orchids
Leaf rot is a common issue among orchids, affecting both the top and stem. To combat this problem and foster healthier growth, a simple yet effective method is available. Begin by cutting across the stem, ensuring a swift and clean incision. Removing all affected leaves is crucial to prevent the spread of bacteria and fungi, promoting the overall health of the orchid. Once the cutting is done, leave the orchid in a separate area to minimize contamination.
2. Cleaning and Preparation for Recovery
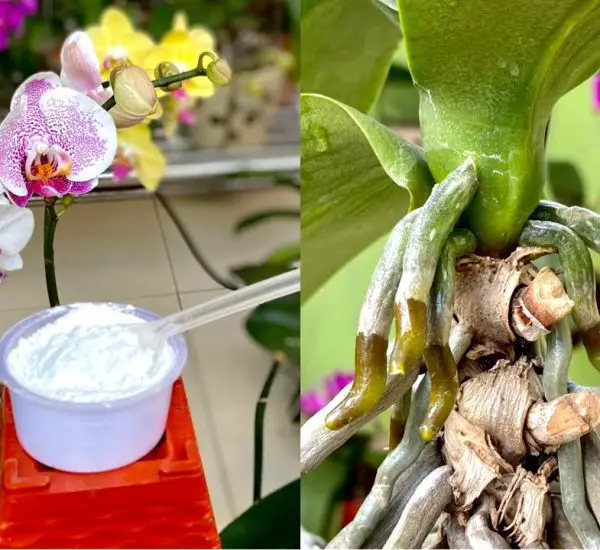
To initiate the recovery process, meticulous cleaning is essential. Remove the old planting medium, cut off any flower stems, and clean the affected areas thoroughly. In the case of orchids with leaf rot, a similar process applies—cutting and washing the affected leaves. To create a potent disinfectant, prepare garlic powder by mixing two small teaspoons with half a liter of room temperature water. Let it sit for an hour, filter the mixture, and add two liters of water.
3. Application of Garlic Powder for Restoration
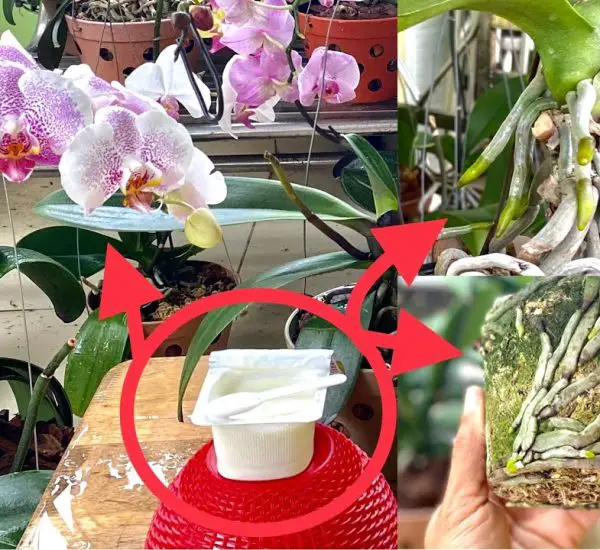
The garlic powder solution becomes a powerful tool in reviving orchids. Soak the affected orchids in this solution for 30 minutes, allowing the disinfectant properties to take effect. Afterward, dry the orchids and apply the garlic powder to the rotten parts and cut leaves. A crucial step in the process involves refraining from watering the plants for three days. This method ensures the quick recovery of orchids with top rot and facilitates the development of small trees from the stem.
4. Results and Continued Care
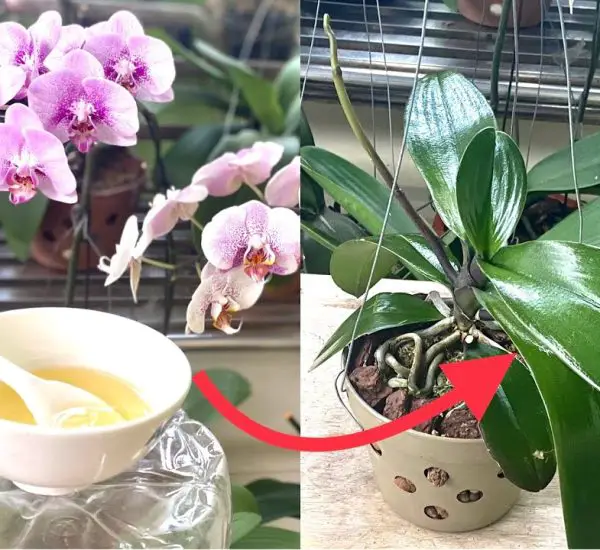
Following this straightforward approach, orchids with top rot will show promising results, developing into robust small trees. For those with rotten leaves, the method proves effective in quick drying and healing. With the orchids placed in a cool, dry location for three days and subsequent careful watering, this simple technique demonstrates its efficiency in rescuing and revitalizing orchids, preventing the need for disposal.