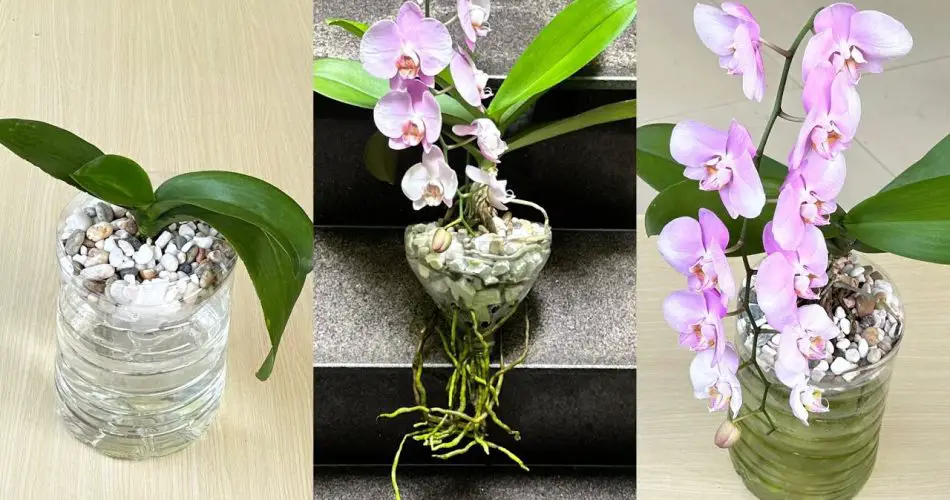
1. Creating the Ideal Growing Environment
To ensure the healthy and rapid growth of orchids, a simple and effective planting method can make all the difference. Start by using a 6-liter plastic bottle as a convenient and accessible planting container. By drilling holes into the bottle and incorporating a garlic water solution, you provide a protective and nutrient-rich environment for your orchids.
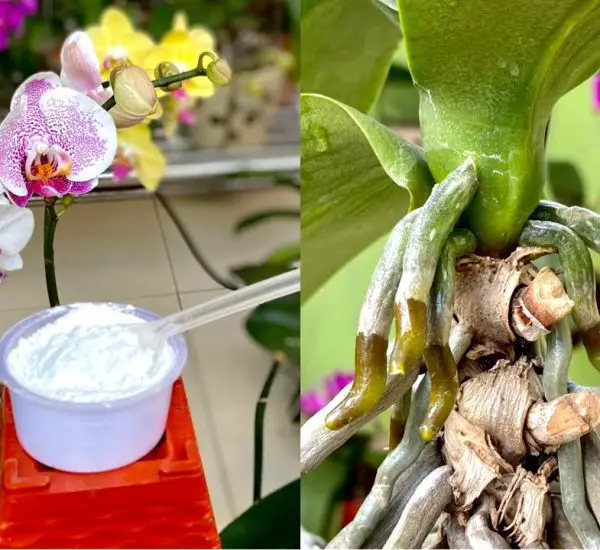
2. Preparing Orchids for Planting
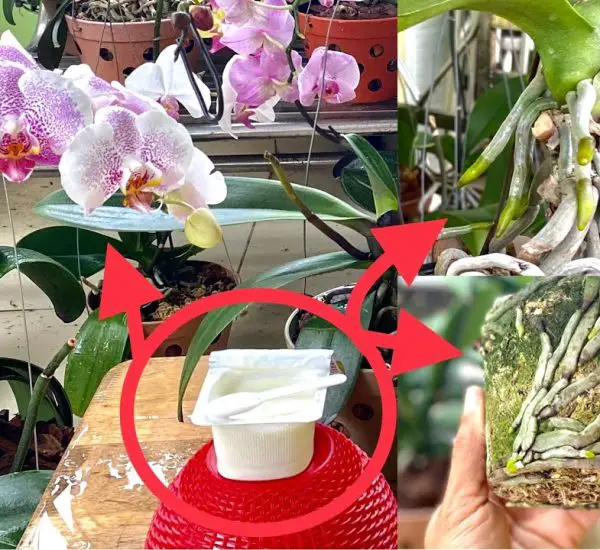
Before transferring your orchids to the new setup, it’s essential to prepare them appropriately. Remove the old planting material and carefully trim any damaged roots. Retain a portion of the moss to contribute to better moisture retention in the pot. The garlic water solution acts as a disinfectant when sprayed on the entire plant, safeguarding against fungi and bacteria. This step ensures that leaves, roots, and planting material remain well-protected.
3. Assembling the Orchid Pot
The assembly of the orchid pot involves layering different components to create an optimal growing medium. Utilize sponges as a breathable and beneficial base for the orchids. Add small pebbles for stability and aeration. This straightforward process sets the stage for a pot that fosters quick and robust orchid growth. Watering is done strategically, ensuring just enough moisture to facilitate growth.
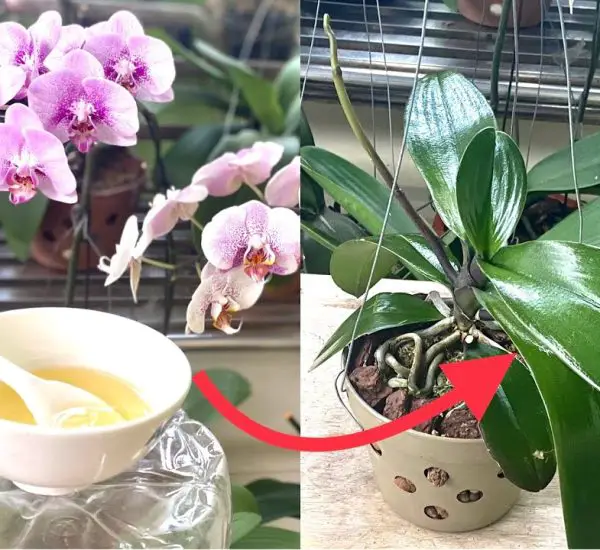
4. Orchid Growth and Maintenance
With the newly implemented planting method, orchids exhibit prolific and beautiful blooms. Orchids, being tropical plants, showcase robust resistance and vitality in this conducive environment. The water-filled pot encourages rapid and strong root development. Once roots are well-established, the need for additional watering diminishes. This method not only promotes faster and healthier orchid growth but also simplifies the fertilization process, allowing for regular and straightforward care routines.