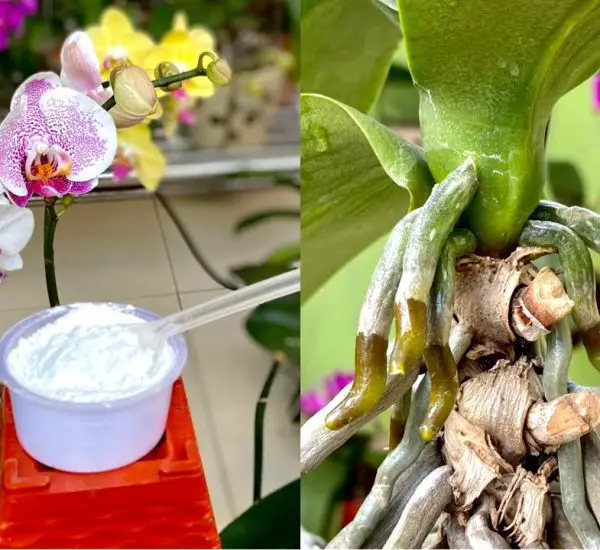
Preparation and Cleaning:
When orchids are left without roots, their resilience diminishes, leading to inadequate nutrition for the flowers. To initiate the restoration process, carefully cut off any remaining roots and clean the base of the plant. Create a garlic solution by adding one small clove of garlic to 400 ml of filtered water. This garlic juice serves as a natural insect repellent and effectively prevents fungal diseases. Apply the garlic juice to cover the roots and soak the plant for approximately 30 minutes. This method promotes the rapid growth of new roots, ensuring the base remains antibacterial and disinfected.
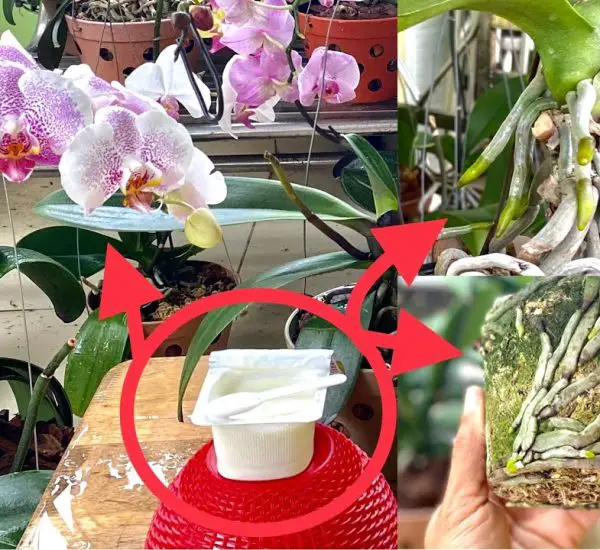
Constructing a Support System:
Construct a supportive structure using a plastic bottle, cutting it to create an ideal environment for root development. Utilize small sticks and soft, clean cloths to secure the plant, leaving parts exposed for optimal air exchange. Drill holes in the plastic bottle for ventilation, and use washed pebbles to provide stability. Maintain moisture by adding water when necessary, replacing dirty water promptly. This setup, when placed in a cool, ventilated area with light exposure, establishes an effective foundation for the orchid’s recovery.
Misting and Moisture Control:
Implement a misting routine once every two days to keep the leaves moist. Alternatively, cover the leaves with plastic bags to prevent water evaporation and enhance leaf strength. The fabric’s water-absorbing properties contribute to maintaining the base’s moisture without excessive wetness. This simple yet effective approach facilitates optimal conditions for root development. After three weeks, observe robust root growth, signifying the success of the method. The leaves, now greener and sturdier, demonstrate the orchid’s overall health improvement.
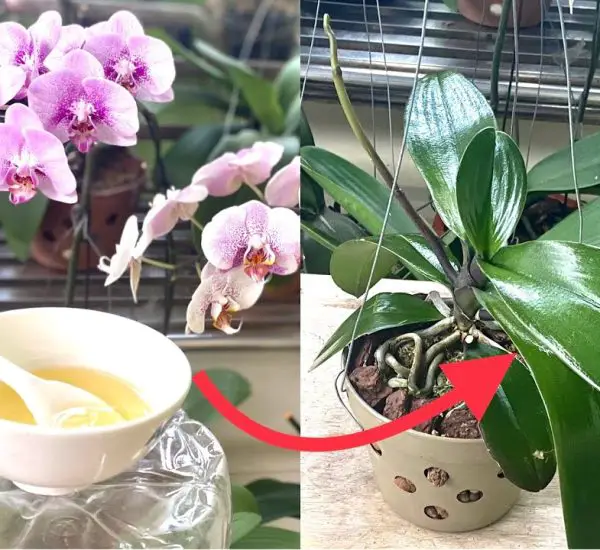
Transplanting for Continued Growth:
After two months, the orchid’s leaves and roots are well-established, providing the opportunity to transplant it into a new pot. This final step accelerates the plant’s growth. The drying and yellowing of leaves at certain stages are normal, serving to provide nutrients for new leaves and roots. By following this uncomplicated method, you can effortlessly revive rootless orchids and witness the flourishing of new leaves and roots. Remember to place the newly planted orchid in a cool, well-lit environment to optimize its recovery.