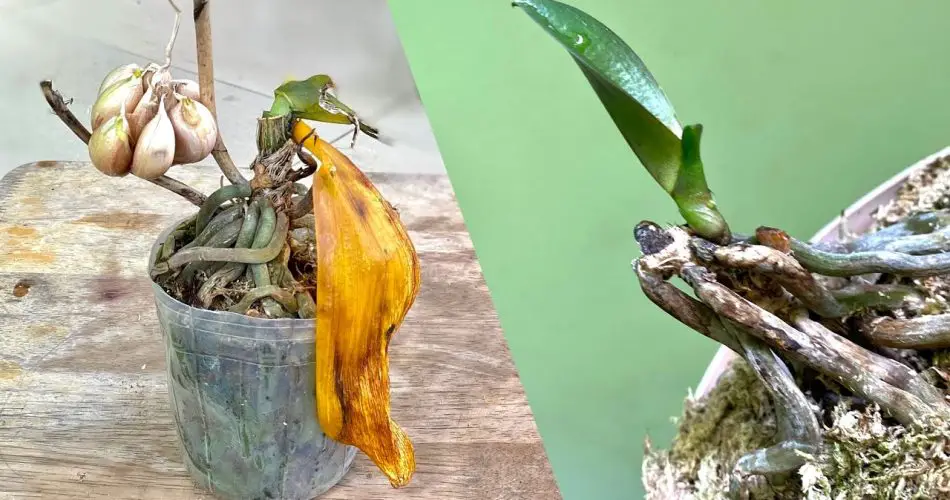
1. Identifying and Addressing Rotten Orchid Tops:
When orchids are purchased with yellowed leaves and rotted tops, immediate attention is crucial. The first step in revival involves removing the affected leaves and thoroughly cleaning the impacted area. While some parts may need to be trimmed, preserving the healthy roots is essential for the plant’s quick recovery.
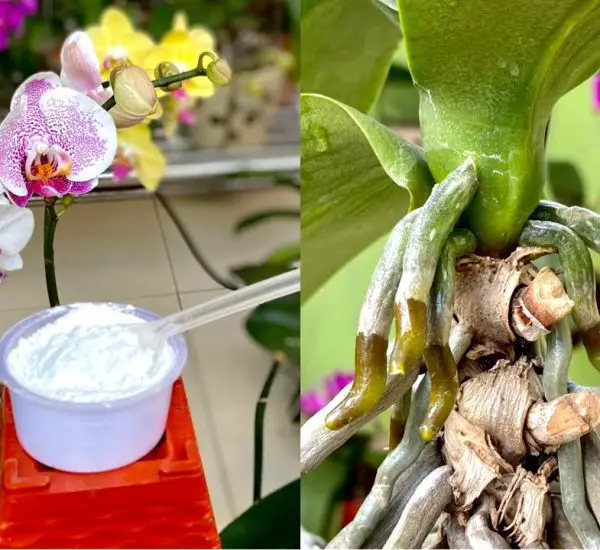
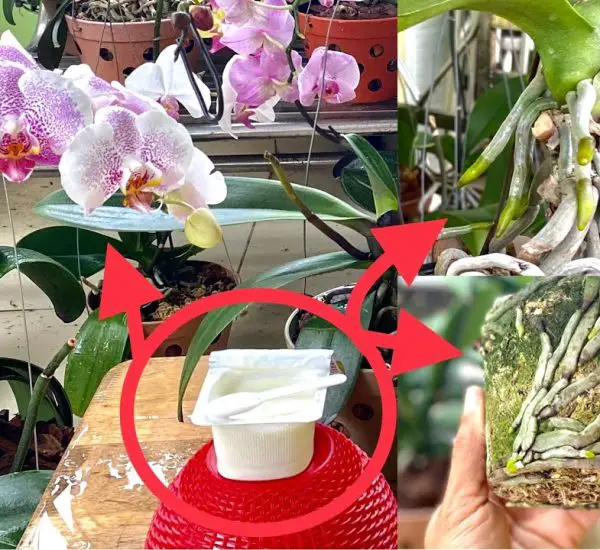
2. Garlic Water Treatment for Rapid Root Drying:
To expedite the revival process, a garlic water treatment is employed. Two cloves of garlic are infused in 0.5 liters of water, left to soak for 24 hours. After removing the old planting material from the orchid, it is placed in a cool location for a day. Once the roots have dried, the garlic water is filtered and sprayed over the entire plant. Garlic’s natural antibacterial and antiseptic properties provide protection to the orchid, fostering a conducive environment for quick revival.
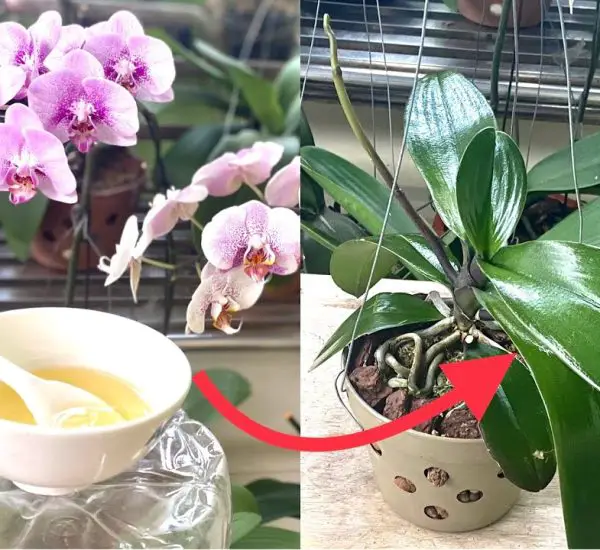
3. Strategic Planting and Maintenance:
After the garlic water treatment, the orchid is replanted using pine bark and a small amount of moss. It’s crucial not to cover the base of the tree, and a plastic cup is used to protect and secure the orchid in a cool place. For the first week, no watering is recommended, followed by misting the roots every two days. This strategic approach helps maintain stump moisture, prevent insects, and facilitates optimal air exchange through carefully designed holes.
4. Gradual Transplantation and Outdoor Transition:
Around one month into the process, signs of revival become evident as the small tree begins to grow. Regular misting every two days continues to support the orchid’s development. After this period, permanent planting becomes feasible, eliminating the need to separate the small tree from its pot. As the roots on the stump thrive, the orchid is ready for transplantation into an outdoor environment, ensuring sustained growth and a healthy, thriving plant.