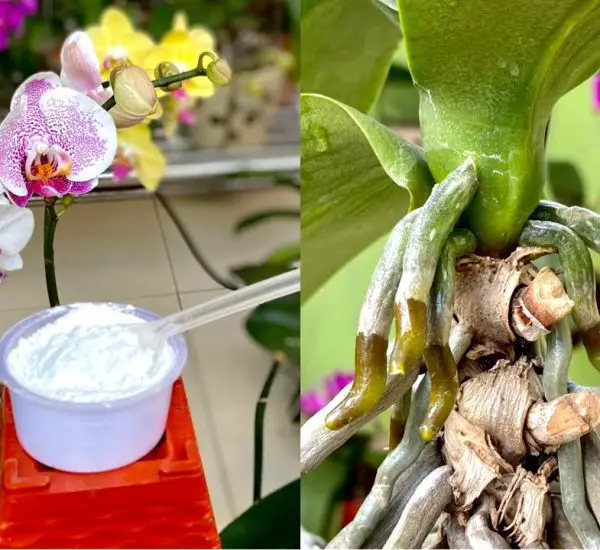
1. Recognizing Orchid Growth Issues
When dealing with orchids, it’s essential to be vigilant about the health of their growth points. If you notice a delay in the appearance of new leaves or if the young leaves haven’t emerged after a considerable wait, it might indicate damage to the growth point. Rushing into rejuvenation without experience can potentially harm the entire orchid. Let’s explore a straightforward approach to revive a damaged growth point.
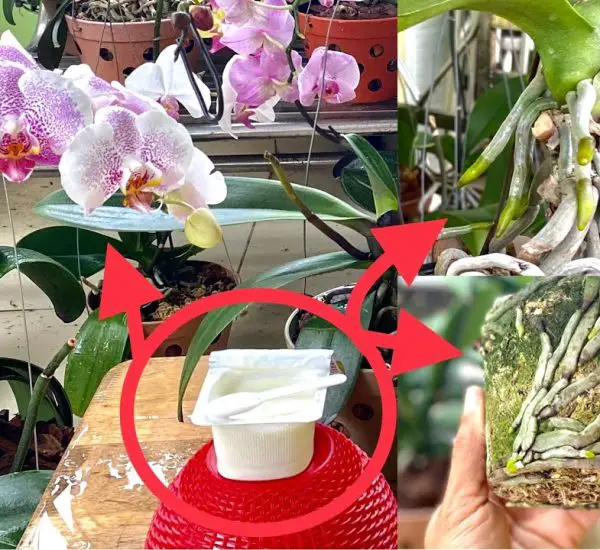
2. Simple Steps for Quick Recovery
When faced with a completely damaged growth point in your orchid, take a careful approach. Begin by cutting away the affected area, leaving only the last leaf intact. Using a small candle, apply wax to the cut surface. This not only disinfects the cut but also promotes swift healing. After this, ensure immediate watering to keep the pot moist. Placing the pot in a cool, well-lit, and airy location creates an ideal environment for the small seedlings to thrive. The warm atmosphere aids in the rapid growth of the revived orchid.
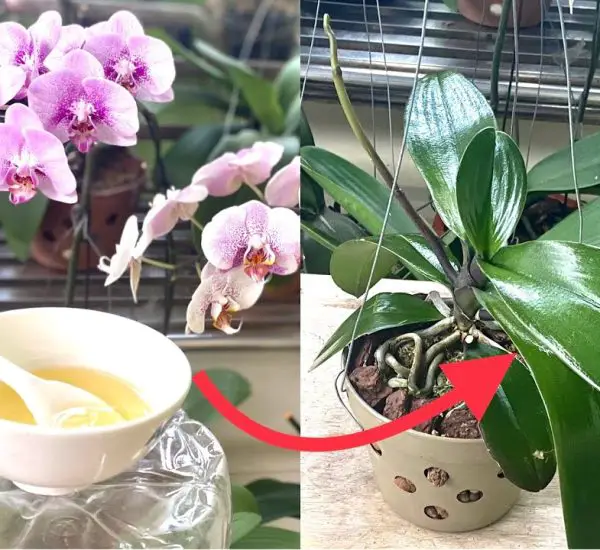
3. Nurturing New Growth
After around 20 days of consistent watering and moisture, observe the emergence of new roots in the small seedlings. This is a positive sign that the orchid is on its way to recovery. At this stage, separate the thriving seedlings and transplant them into a new pot, a departure from the conventional method that requires a longer waiting period of 1 to 2 months for revival. With this efficient technique, your orchids that lose growth points can experience a quicker and more successful revival.
4. Patience and Persistence
While the process may seem swift, it’s important to maintain patience and persistence. Orchid care demands attention to detail and a gentle touch. By following this simple yet effective method, you can ensure that your orchids, even when facing growth challenges, have a chance to bounce back quickly. With a little care and the right technique, you’ll soon witness your once-damaged orchid flourishing into a new, healthy plant.